7 Ways to Improve Your Instagram Photos


One of the best ways to draw readers to your blog is through Instagram. Learn how to create high quality Instagram photos with these 7 tips!
If you're anything like me, you probably check or post on Instagram multiple times a day. And with each photo, you're probably wanting to make sure it's the best it can possibly be, right?
I wanted to share seven questions you can ask yourself before you post your next Instagram photo.
Megan_Weaver_01a
1 :: Does this photo align with my brand or aesthetic? (Ohhh, we’re getting deep already!)
If you haven’t decided what you want your aesthetic to be, now is great time to start. Think about how you want your brand to appear and how you want it to make people feel when they see your feed.
Do you like a color palette that's darker, lighter, colorful, muted, or more white space? Do you want people to feel inspired, excited, encouraged etc.?
Once you know that, you can check each photo against this criteria to see if it aligns with your existing grid or the new grid you’re in the process of creating. (Let's face it, nobody's grid starts out as great as they'd like...you can check my first bajillion photos for proof.)
Here’s my personal aesthetic when it comes to Instagram: colorful, bright, clean, happy, calm, encouraging. What's yours?

Megan_Weaver_10a

Megan_Weaver_09a
2 :: Am I shooting in the best lighting?
How do you know if you’re shooting in the best lighting? If you’re shooting products inside, I wrote a post on the exact setup I use to get the best natural light possible.
Psst the images in this shoot were created with this exact lighting setup!)
If you’re shooting on location, the easiest thing to do is find lighting that’s even
By that I mean shooting somewhere with diffused light, like bright light coming through the curtains (vs harsh lines coming through the blinds), or in full sunlight if you like an image with more contrast.
Avoid using a flash (unless this is your intentional style). This will create a flat looking image and might blow out some of the brighter parts of your image. If you’ve got great natural light, all you need to know is how to manipulate it to work in your favor.
Lastly, avoid using natural and artificial light in one photo. Don't use natural light coming in from the window and artificial light from the room. The outside light will most likely be cooler (depending on the time of day) and the overhead light might have orange tints so it could affect the color of whatever you’re shooting. If you’re shooting the way I mentioned above, just turn off any light in the room.
Once again, ask yourself if this lighting fits cohesively with the rest of your grid. Are there lots of shadows in an already white and bright grid? I know not every photo will be perfect — but it’s a good practice to start!

Megan_Weaver_03a

Megan_Weaver_07a
3 :: Is my editing consistent? .
If you’re using your phone to take the photo, there’s a good chance you use a variety of apps to edit one photo. I personally use VSCO Cam and Instagram filters while editing.
Once you know your aesthetic, use that as a guide to determine what filters or adjustments you’re going to make while editing (if any)!
Here’s an example of what I do when I’m editing:
Bring original photo into VSCO Cam (free app).
Adjust brightness until the lightest parts of the photo are brightened, but not so much that they’re blown out.
Add some contrast (just a tad) and saturation (but not enough to make them super saturated).
Then I’ll go through some of the filters and see if any of them enhance the photo. If they do, I’ll usually only apply a little bit of each filter.
Then I’ll bring it into Instagram, and do the same with the filters in here until it matches my aesthetic.
If you know what filters and type of lighting you like, try to use that with each photo to keep your images consistent.
Megan_Weaver_05a
4 :: Am I proud of this photo or excited to share it with my followers?
If you’re not proud of it, don’t share it! If it doesn’t at least serve the purpose of making your grid more beautiful or sharing beauty in your life (even if it’s the real-life-messy-beautiful), don’t feel like you need to share it.
There’s so much pressure to always be posting/sharing/creating that we sometimes don’t give ourselves permission to wait until something better is created.
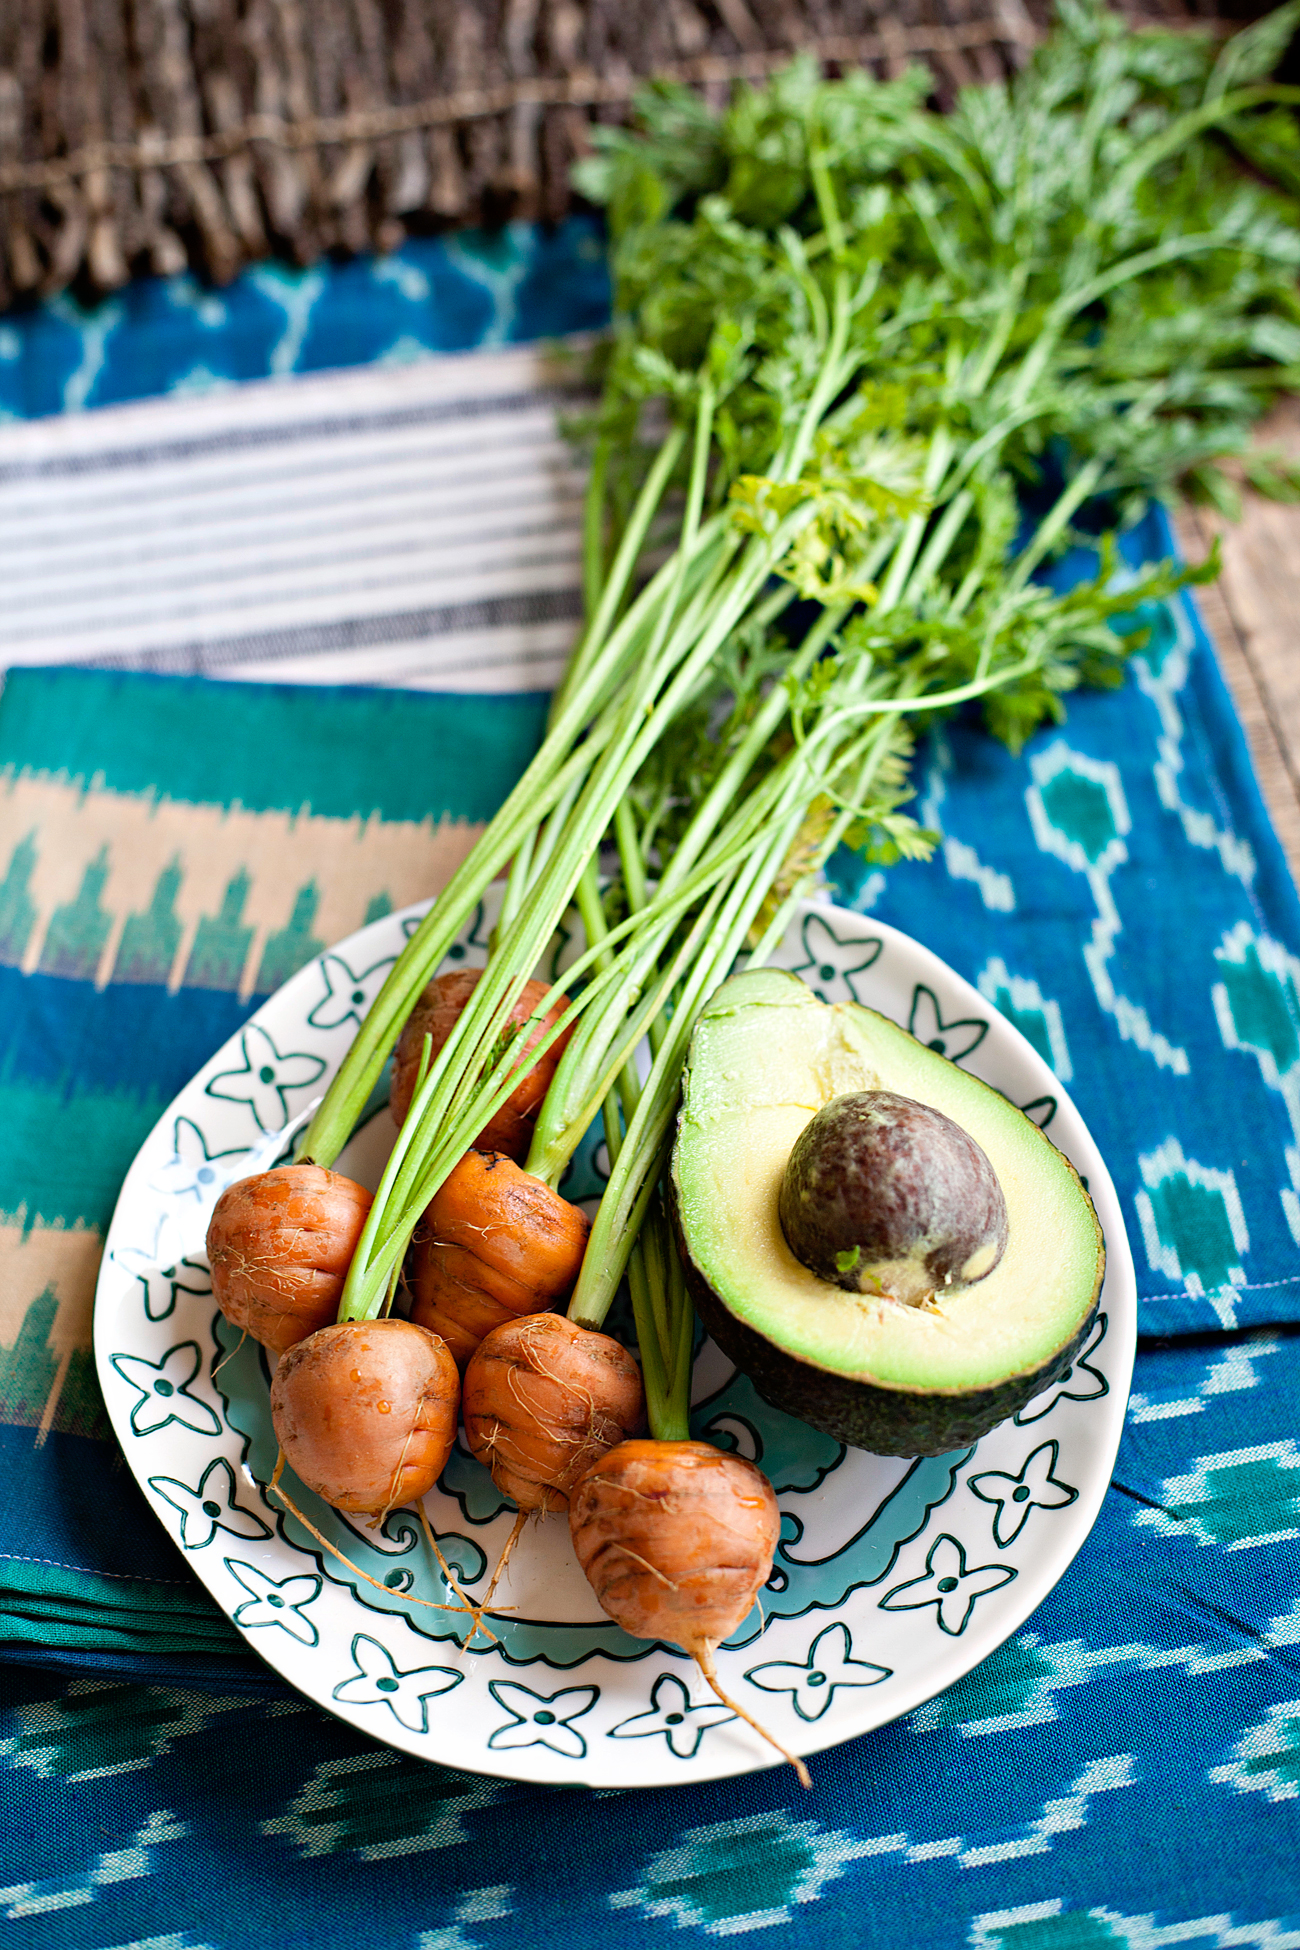
5 :: Does the background of the photo fit with the rest of my grid?
Going back to your brand’s aesthetic — do you prefer a darker background like wood textures or darker marble for example? Or lighter backgrounds like white, light marble or light pastels?
Whatever your preference is, try to find backgrounds that work well in that category. For me it’s white backgrounds, light marble (or fake marble textures) and lighter colors if possible.
Some great background options are white foam board from a craft store, real marble textures or fake marble textures (found mine on Amazon for about $7).
If you prefer something darker, use wood textures, darker cement backgrounds, dark fabrics etc. You can use card stock as a super simple colorful background for bright or pastel colors.
Megan_Weaver_02b
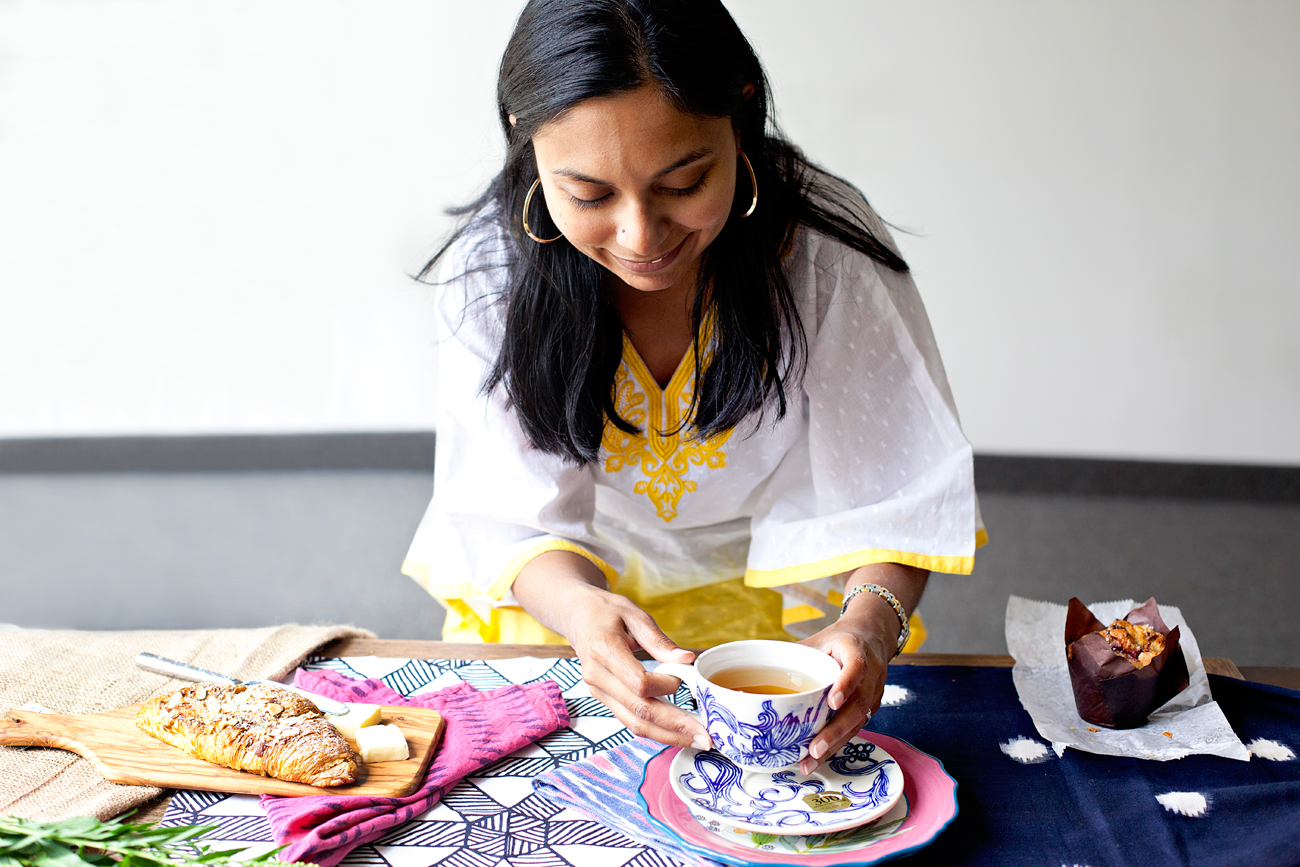
This talented woman is Mili Suleman of Kufri Life, a company that sells gorgeous, organic, richly textured woven textiles that make any room feel more beautiful!
Thanks to Mili's styling genius, we shot these tabletops complete with her textiles and yummy props which appeared in Rue Magazine!

Megan_Weaver_06a
6 :: Am I composing this photo the best possible way?
If you compose an image well, it helps guide your viewer's eye to the most important part of the photo. Good composition can enhance something that’s otherwise boring, and bad composition can detract from something that’s actually interesting.
If you need a refresher on composition tips, I wrote a post on it here
For Instagram, here are two great composition tips you can use:
Rule of odds — This is the thought that odd numbers are more pleasing to the eye than even ones, because we tend to look at an object that’s in the center of the group. It also creates tension which makes for a more interesting photo. Think about styling smaller objects in groups of threes instead of just two.
Find patterns — Patterns are also really pleasing to the eye because they suggest rhythm or harmony. You can look for patterns that appear in nature or patterns that are man-made (like tiles in a cafe). You can also break the pattern up to create more interest in an image by placing someone or something in the middle of the pattern or to the side so the eye has somewhere to go.

Megan_Weaver_12a

Megan_Weaver_11a
7 :: Am I satisfied with the quality of my images?
If you’re like I was five years ago, you want something more from your images — I was getting flat, low quality images from my starter camera and using an okay lens. I wanted images that were gorgeous, high quality, crisp and ones I was able to customize to fit my shooting style.
If your iPhone isn’t cutting it with your current photos, it might be time to invest in a DSLR and starter lens! (Woohoo!)
Once you have your DSLR and lens, I’d recommend learning how to shoot in manual, which you can learn more about
I hope these tips will help you create better photos for your blog and Instagram!