How to Create Blurry Backgrounds in Your Photos


Ever wonder how photographers give their photos a blurry background? In this super easy tutorial, learn how to make the focus of your photo pop against a soft background.
You know what I love doing when I shoot portraits? Making the background of the photo reaaaally blurry.
I’m sure you’ve seen this before. It's when the person is in sharp focus and the background is really soft and blurry — also known as bokeh.
Megan_Weaver_55a

Megan_Weaver_44a
I want to tell you how you can get a blurry background in your photos in three (easy) steps.
Before I get into it though — I want to quickly mention manual mode (it’s my fav) because knowing how to shoot in manual will allow you to control your aperture which helps create that gorgeous bokeh.
Aperture is one of the three settings (along with ISO and shutter speed) used in manual to get the correct exposure (or lighting) in your photo.
Okay, back to bokeh. Here are the three steps you can take to create bokeh on your next blog shoot.
STEP ONE: Add Distance
If you want more noticeable bokeh, make sure there's a lot of distance between your model and the background.
The further away they are from it, the more potential there is for gorgeous bokeh because there’s a greater depth of field.
You definitely don’t want to put them right up against a wall since it’s flat and there’s no room for depth in your photo.
Great things to look for are:
Alleyways — of which you can shoot right down the middle to create more interest with leading lines. (If you want a refresher on the rules of composition you can check them out here!)
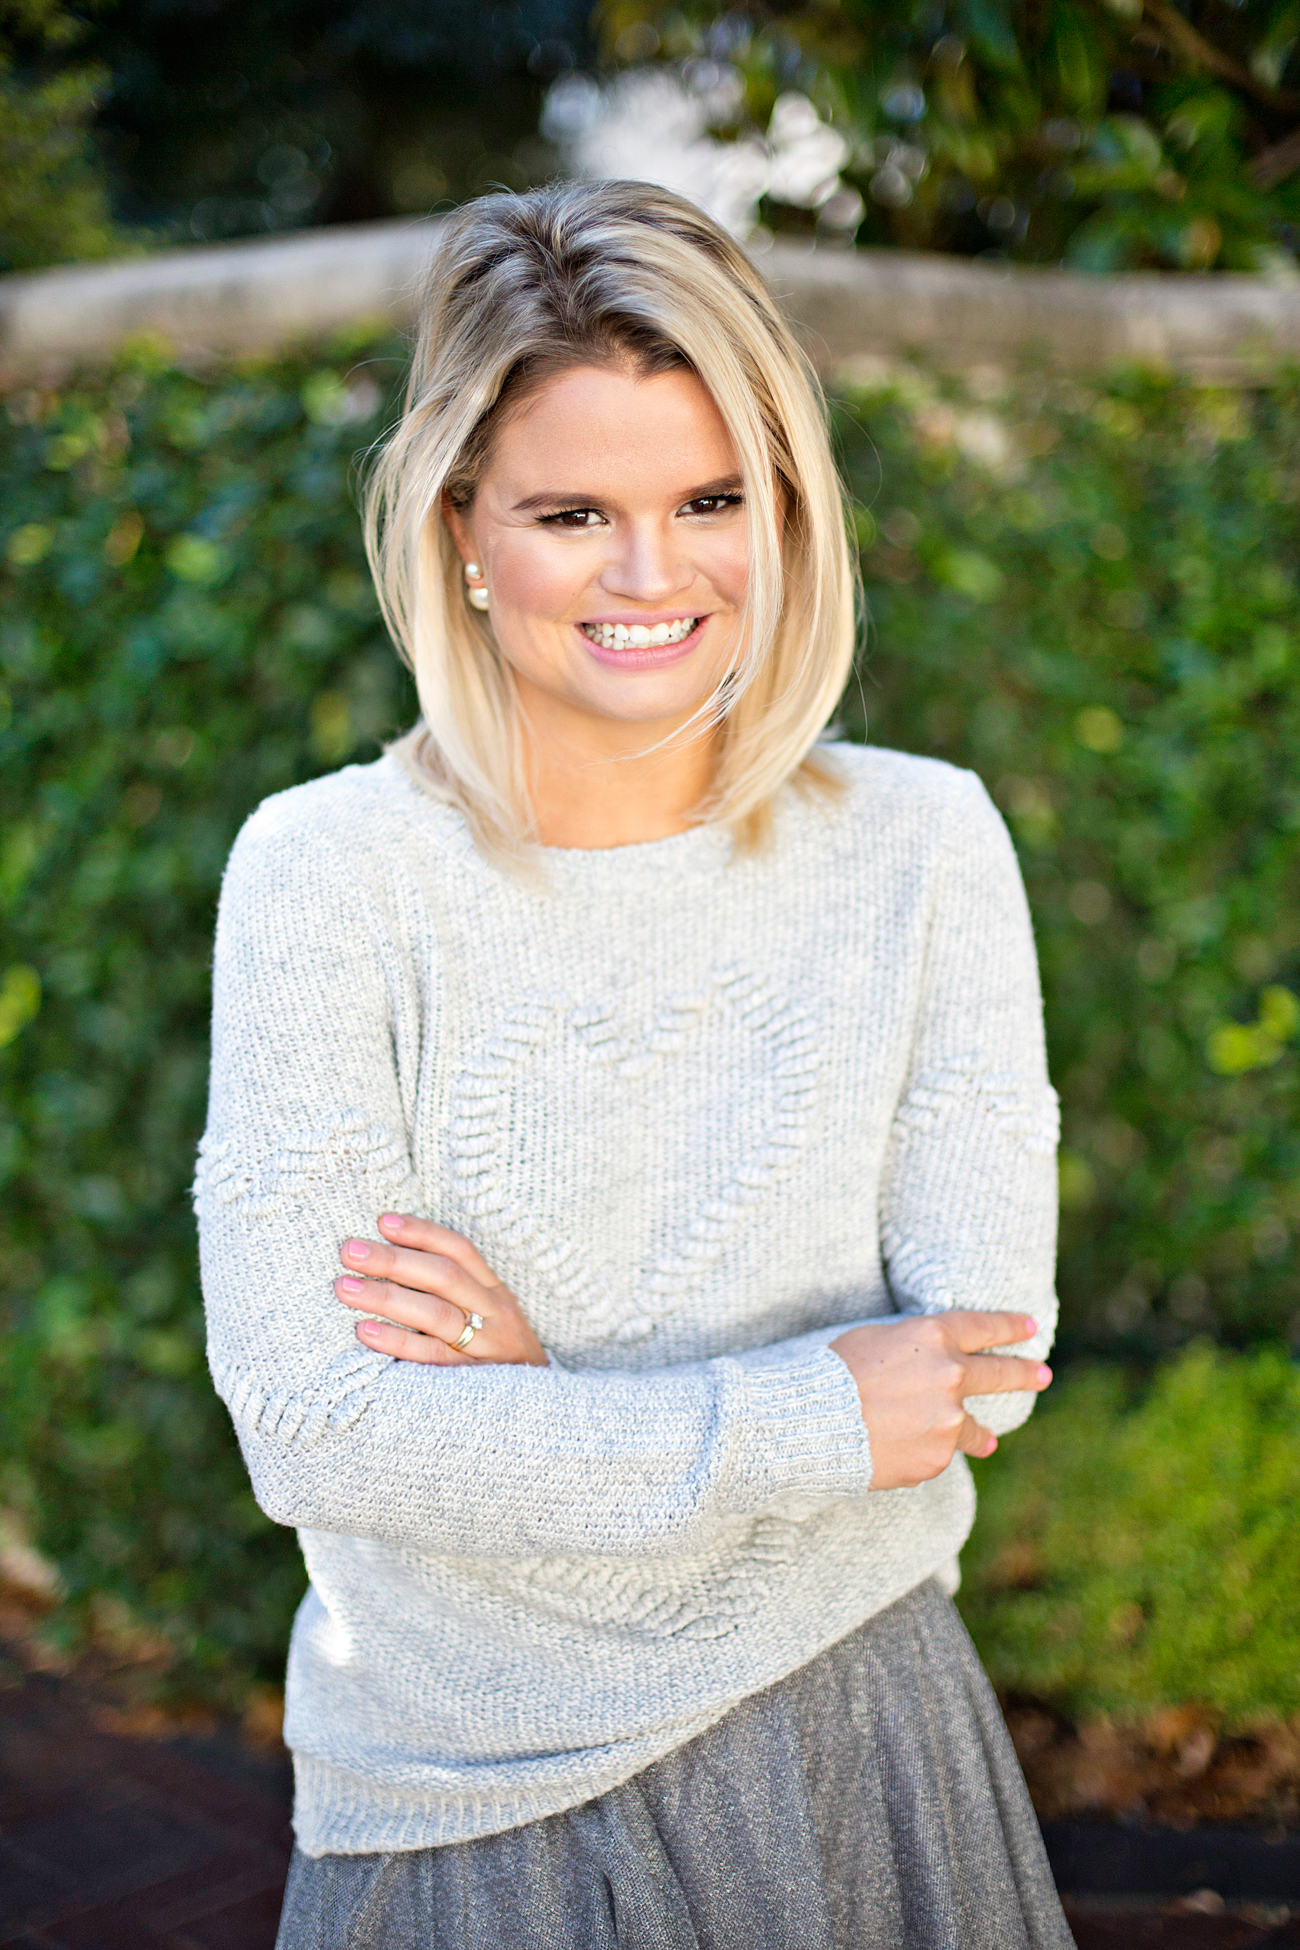
Shooting with lots of trees or greenery behind your model, if you want a really soft backgrounds with lots of color.
Shooting down the street vs right up against the wall if you're on the sidewalk or downtown with lots of buildings.

Megan_Weaver_45a
Megan_Weaver_43b
STEP TWO: Shoot Close to Your Model
The closer you are, the more potential you have for bokeh.
And please please please — if you’re shooting a portrait, make sure your focus is directly on their eyes.
When you look at a photo of someone, you almost always look at their eyes first, right? In my opinion, if the eyes are blurry, it can ruin the entire image.
Before you take the photo, make sure the focal point is on their eyes — especially if you're shooting with a really wide aperture. Which brings me to the last step!

Megan_Weaver_46a

Megan_Weaver_48a
STEP THREE: Shoot at A Wide Aperature
An example of a wide aperture is something like f/1.4 or f/2 (also known as an f-stop).
The smaller the numbers, the wider the aperture and the blurrier the background.
But the lens you have will determine how wide of an aperture you can shoot with.
What lenses are best?
The best lenses for gorgeous bokeh are prime lens. A few examples of prime lenses are the 50mm 1.2, 50mm 1.4, 50mm 1.8, 85mm and 35mm.
Personally, I love the 50mm 1.2 because it will give you more bokeh since it has the capability for a wider aperture.
I’d definitely recommend investing in a prime lens of some sort if you’re wanting to create images with gorgeous bokeh. It’s worth it, trust me!

Megan_Weaver_47a
If you don't already know this gorgeous girl, this is Blare June! She's from Nova Scotia, Canada and she blogs about fashion, mental health and empowerment!
She's incredibly sweet and I'm so glad I got to meet her while she was in Dallas for Create & Cultivate!

Megan_Weaver_49a

Megan_Weaver_54a
I hope this helps you the next time you’re planning to create bokeh in your images! If you have any questions, feel free to share them in the comments below!
And if you know any bloggers who could benefit from these photography tips, I'd so appreciate if you would shared this post with them! Or direct them to my free email course on shooting with confidence—you can sign up here.