How to Shoot Indoors with Natural Light
Use natural light to snap your blog photos even when indoors — here's how!
Have you ever planned an outfit or portrait shoot for your blog outside, only to find out it’s actually going to be raining or storming during your shoot? You probably had to either reschedule or move the shoot inside.
This has definitely happened to me a few times, and sometimes shooting inside is the plan from the start.
Either way, shooting inside can sometimes be tricky because you have to work with light in different ways.
I want to share a few ways you can shoot inside for your next blog shoot AND show you one of my favorite indoor blog shoots in Dallas with Ali Hollins of Love You, Mean It.

How to Shoot Indoors with Natural Light
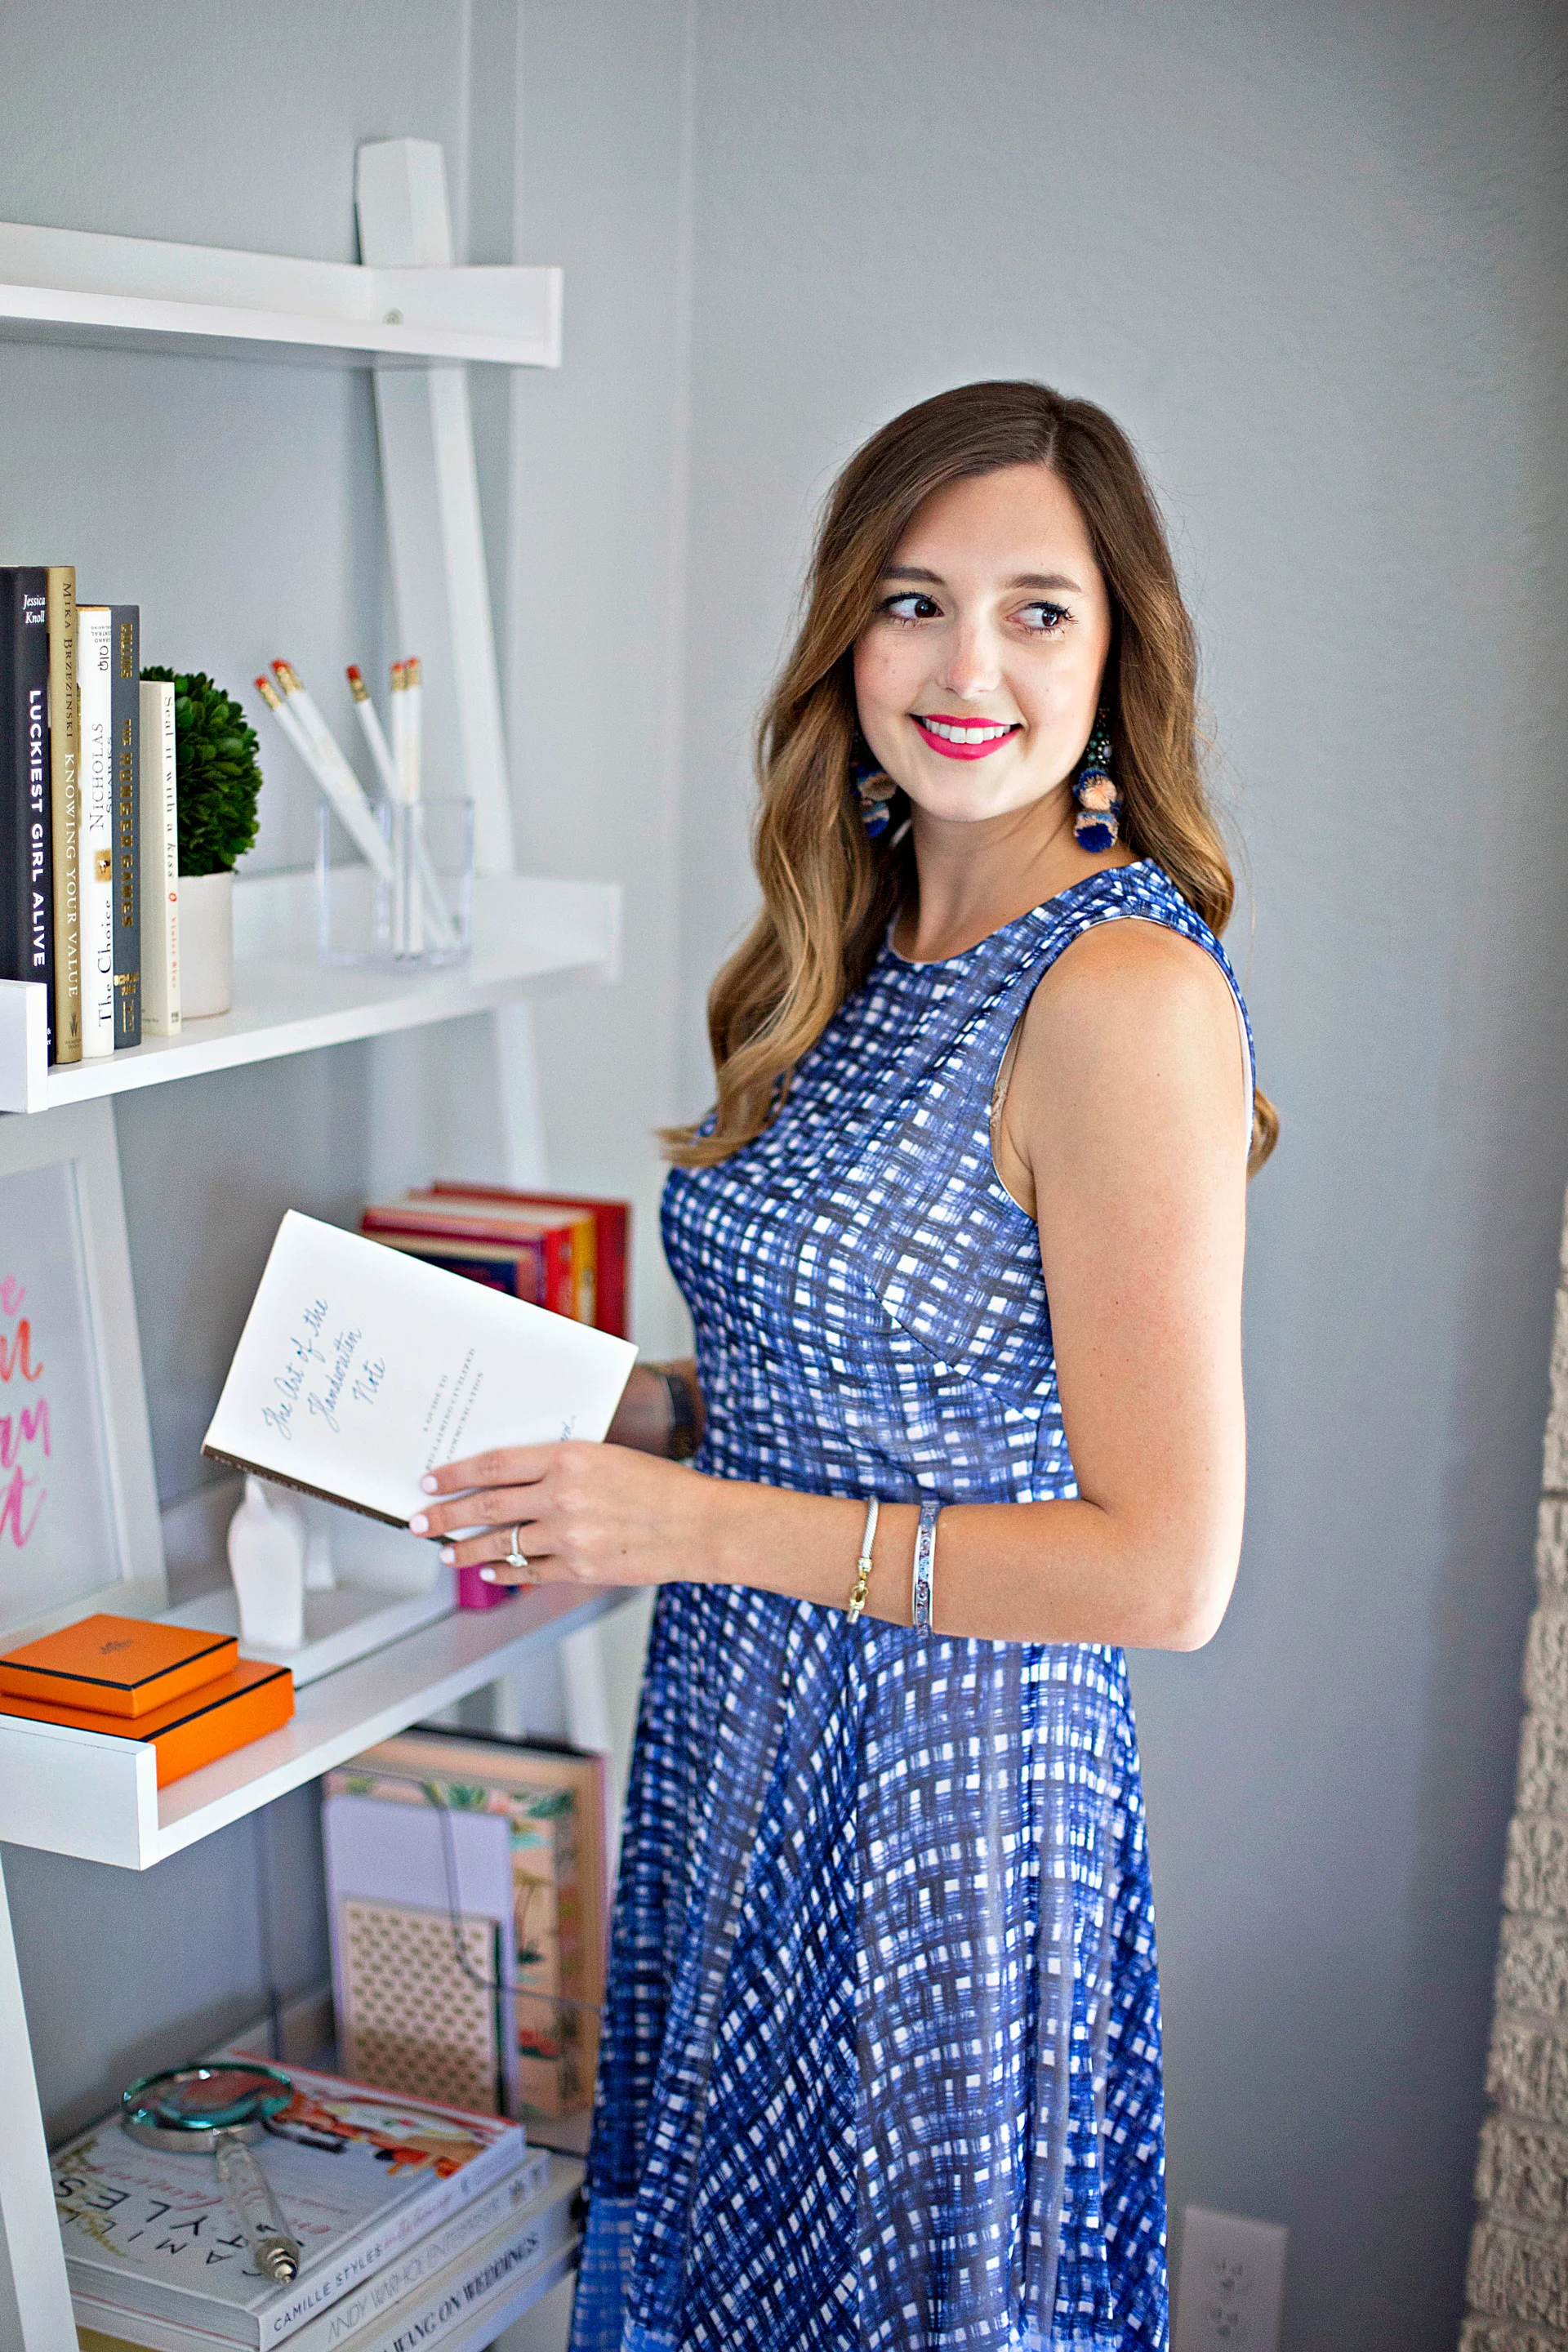
Whenever I’m doing a shoot inside, I always try to find the room with the most light. Usually this is the living room, kitchen or sometimes master bedroom but it really just depends on the space.
If you're shooting at a location other than your home, try to find the room with the most light or the brightest windows.
Depending on the light outside, you can do a few things to control the light coming in from the windows:
If it’s really bright and you want to soften the light a little, you can either close the windows a bit or pull a transparent curtain over the window to help diffuse the light. Usually I leave it completely open unless it’s creating harsh lines in the room, so it’s your personal preference!
If it’s cloudy outside, you can open the windows completely and let all that gorgeousness in because it's already diffused and even — and you don’t have to worry about any harsh lines coming inside. Usually you'll see harsh lines if the sun is shining directly in the windows (coming from the east in the morning or the west in the evening).
One lighting tip to remember: You may need to turn off any overhead lighting if it makes your images look too orange or if it creates shadows on your face. You don’t want to mix orange/yellow light from artificial lighting with the cooler light coming in from outside — especially if you’re shooting an outfit since you don’t want to mix colors and make it harder to edit.
For this shoot, I turned off all the lights inside so there was only one source and color of light.

How to Shoot Indoors with Natural Light

How to Shoot Indoors with Natural Light
Once you’ve found the best lighting in your location, there are a few ways you can shoot your portraits using natural light:
Face the Light
You can face directly towards the window light, which will create a more even light on the front of your body and face (like I did with the pictures of Ali at her desk).
Shoot Backlit
Or you can shoot backlit, where the window light is coming from behind you — which will create a really bright background (I personally love shooting this way! See the images with Ali on the couch).
When I shoot this way, I always try to expose (or get the correct lighting) for her face, because that's the most important part of the portrait.
Shoot at an Angle
If you need to shoot slightly at an angle to the window (let’s say there’s something preventing you from directly facing away or towards the light), you can do this — but if you want to even out the light on your face, need to use a reflector.
You can use the reflector when you’re shooting backlit or at an angle by positioning it opposite the window to bounce the light back on you. Sometimes you have to move the reflector around to see where the best reflection happens.
This is the reflector I use occasionally for shooting portraits inside, and sometimes interiors and products if I need a little extra fill light: the Mini Sun-Bounce Kit. I’ve used it for a couple years and it’s worked really well!

How to Shoot Indoors with Natural Light
If you’re just shooting with one person, you can use a lower aperture since you won’t have to get as much in focus (remember, this is also personal preference).
But if you want to shoot a larger group of people, use a higher aperture like f/5 or f/8 depending on the group, so you can get everyone’s face in focus.
If you’re inside and it’s still too dark even with a reflector, you can also use a tripod or something stable to put your camera on and shoot with a lower shutter speed.
If you use a slower shutter speed and hold the camera, it could cause blurriness in your image.
Remember, a slower shutter speed equals more light coming into your camera, but you risk having blurry images if it’s too slow. So if you’re just shooting someone standing still, you can take your shutter speed down to 1/125 or 1/80 and that will create a brighter image for you.

How to Shoot Indoors with Natural Light

How to Shoot Indoors with Natural Light
If you're just shooting the room or a product for example, and using a really slow shutter speed like 1/30, you can also set your camera to the 2-second timer so you can press the shutter and remove your hand from the camera before it takes the picture. That will keep your image from being blurry.
Lastly, if you’re shooting in a really dark location, you can also bring in a flash or continuous light if you want that option. I don’t typically work with flash or continuous artificial light, but this is the light I’d love to have eventually: Westcott Skylux Rapid Box XL Kit.
How to Shoot Indoors with Natural Light

How to Shoot Indoors with Natural Light
I hope these tips help the next time you do a blog shoot inside — and if you have any questions, let me know by leaving me a comment below!
If you’ve been wanting to learn how to use your DSLR camera to shoot for your blog, sign up for my free email course, Shooting With Confidence!
I’ve been shooting with fashion bloggers for 4 years, so I know what it’s like to create images for your blog and I’ve included what I’ve learned from being a photographer for over 7 years into this course.
I didn’t go to school for photography. I learned everything I know by trial and error and lots of practice, so I know you can do it too if you’re willing to put in the effort.